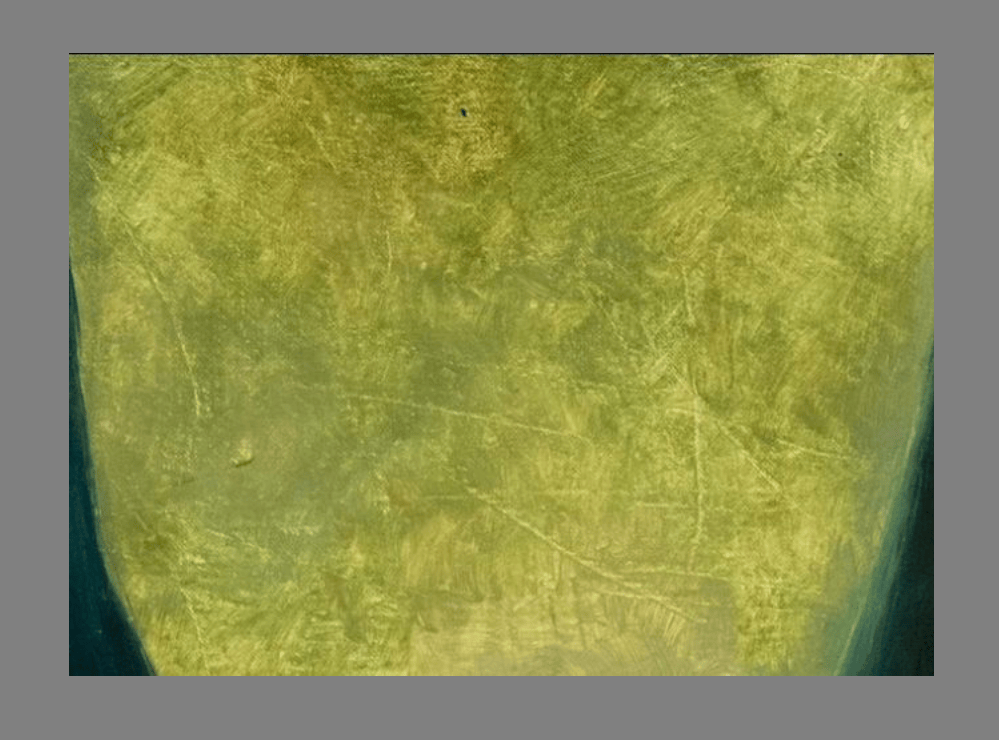
1. Find a texture you would like to extract, I took a screenshot from a segment of a painting. This area of the original image stood out to me as being a good candidate to be turned into a seamless texture due to few dramatic shifts in value, minimum perspective distortion, and a wide enough area to sample from as to not make the tiling too jarring.
My intention in making this seamless texture is to use it as an overlay to add texture to flat areas in a digital painting to reduce its artificial quality, as well as to use it as a repeating texture pattern in custom brush presets.

2. Navigate to Filter > Adjust > Desaturate (or press Ctrl+Shift+U)

3. Try out each of the desaturation methods and choose whichever one you feel best represents the value structure of the original. Pick the option that preserves the most detail but doesn’t make the contrast feel overblown.
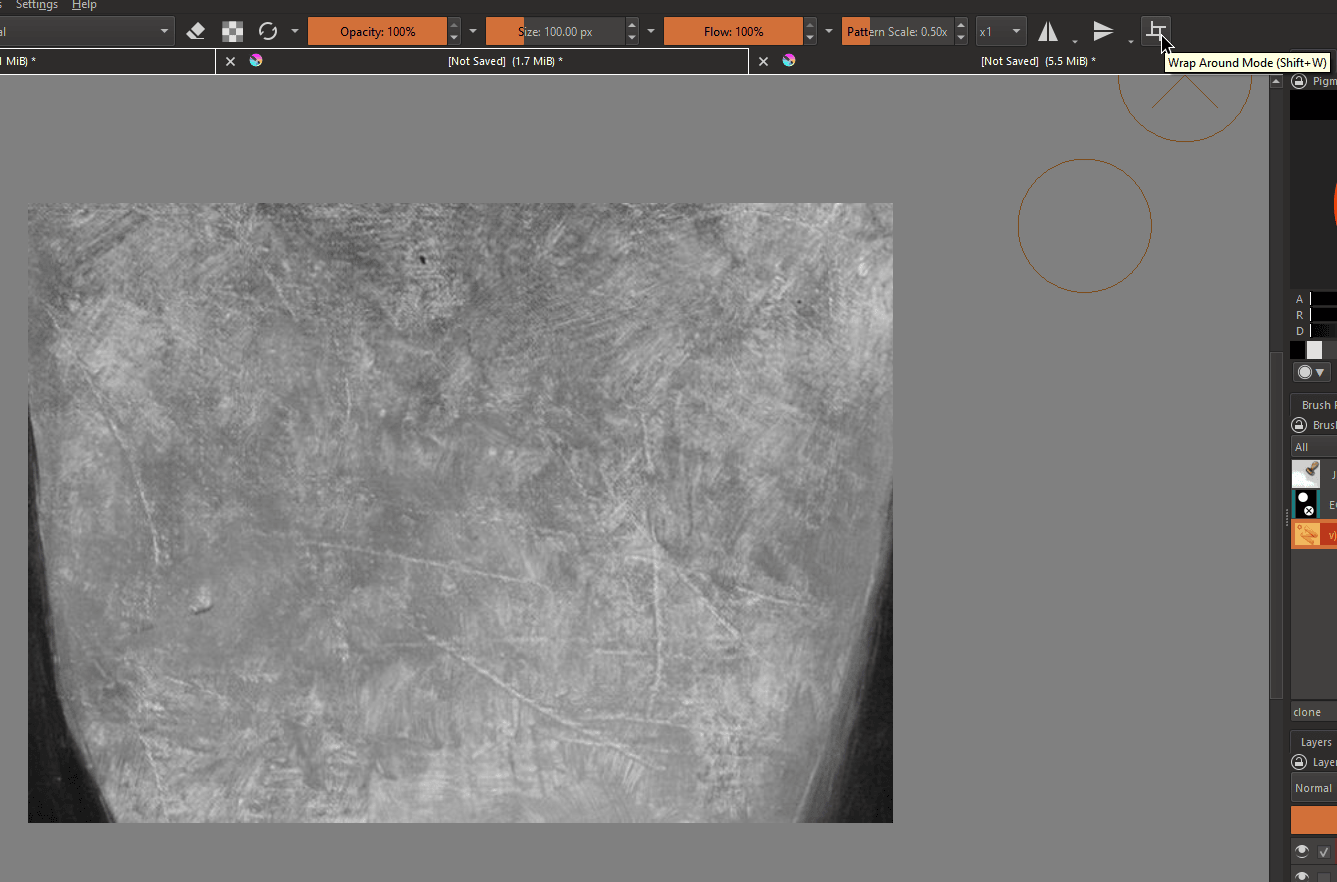
4. Select ‘Wrap Around Mode’ (or press Shift+W)
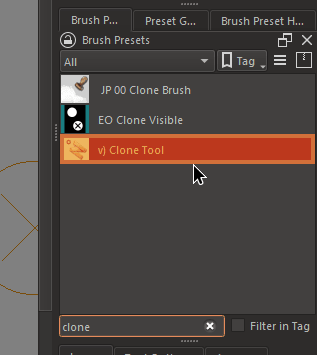
5. Open up the Brush Presets docker and look for the ‘Clone Tool’
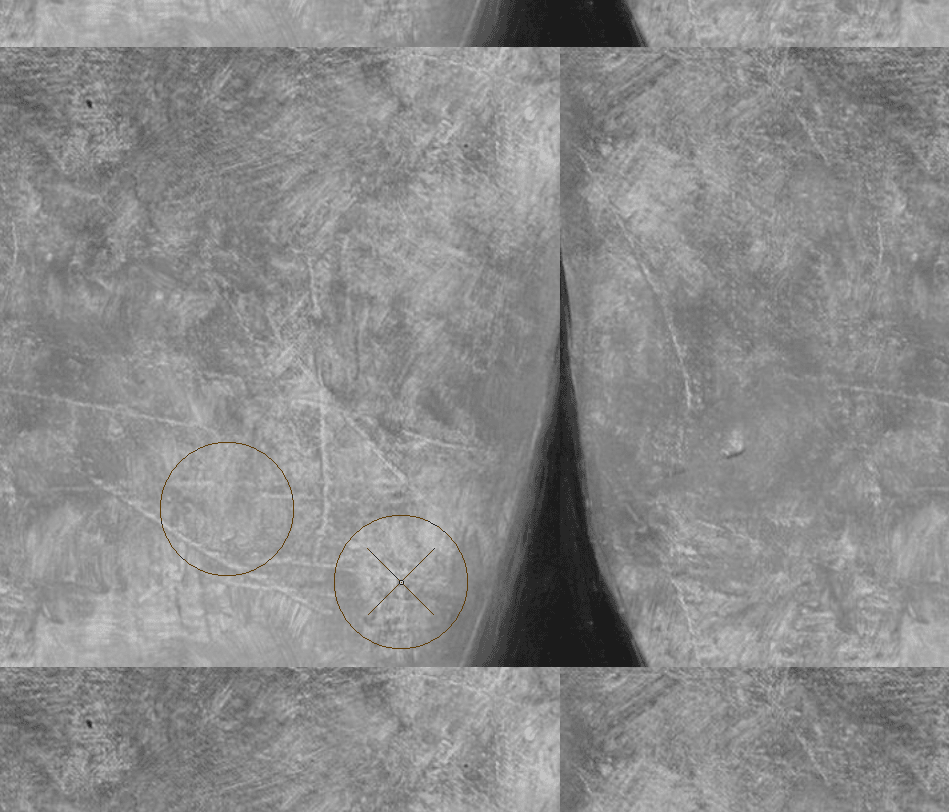
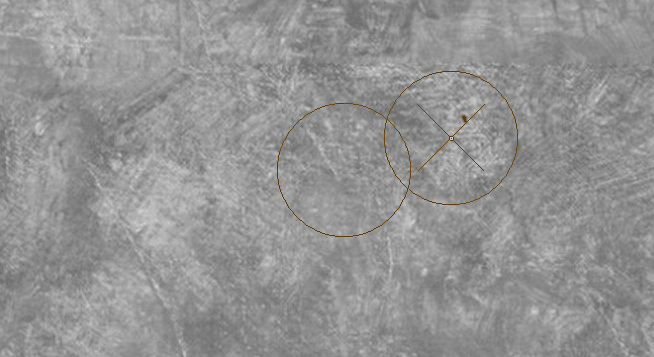
6. Using the clone tool, we can easily remove any distracting elements from the texture you wish to use. Hover your cursor over an area similar enough to the section you wish to remove, but far enough to not make the repetition noticeable, then press CTRL (or whatever shortcut you use to color pick)
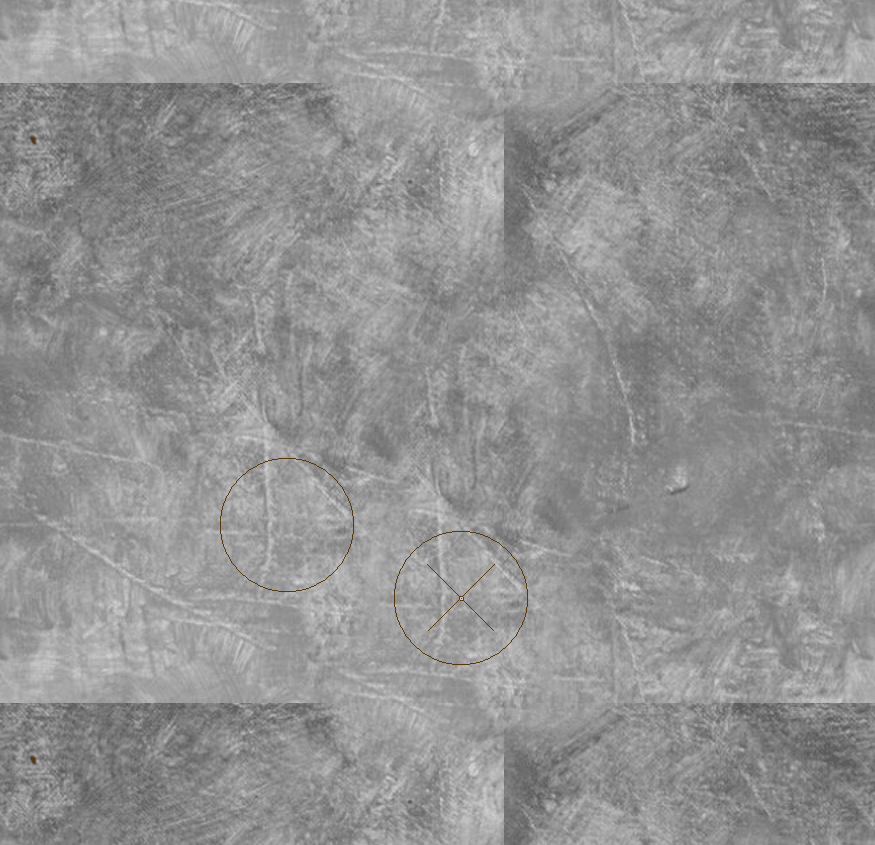
7. Then brush over the area you wish to remove, you can tinker with the Size, Opacity, and Flow of the clone tool to best suit the transition you’re trying to make. Zoom out occasionally to test how seamless your edit was.
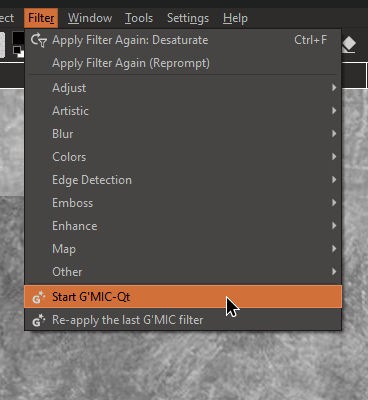
8. Navigate to Filter > Start G’MIC-Qt
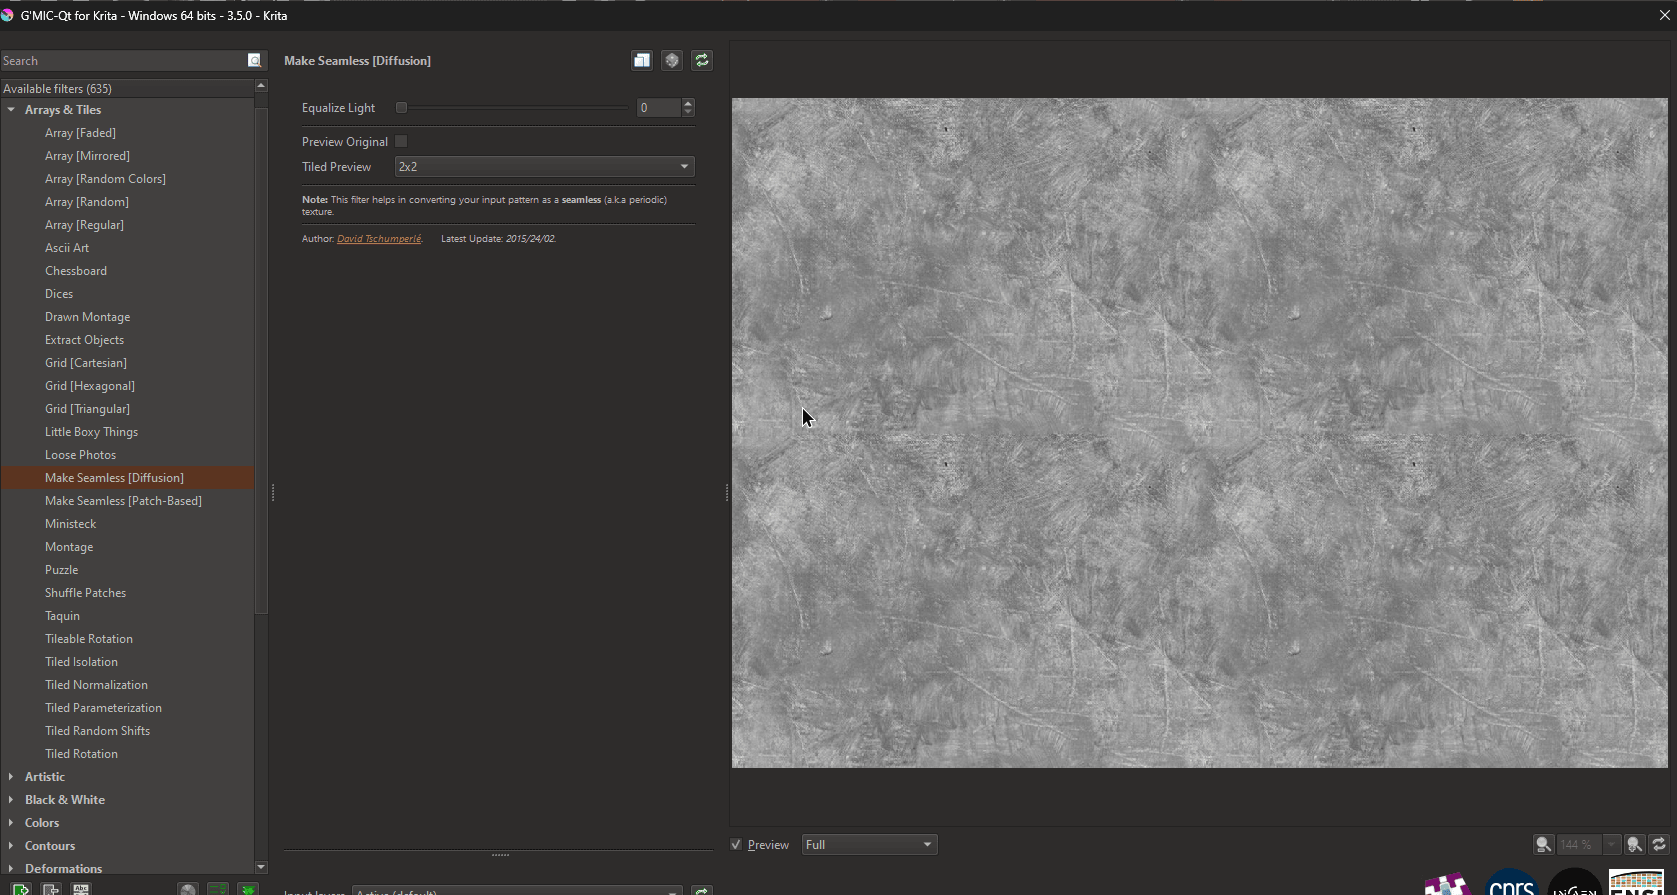
9. On the G’MIC window, navigate to ‘Make Seamless’. There will be two options, [Diffusion] and [Patch-Based], experiment with both to see whichever one creates the best result.
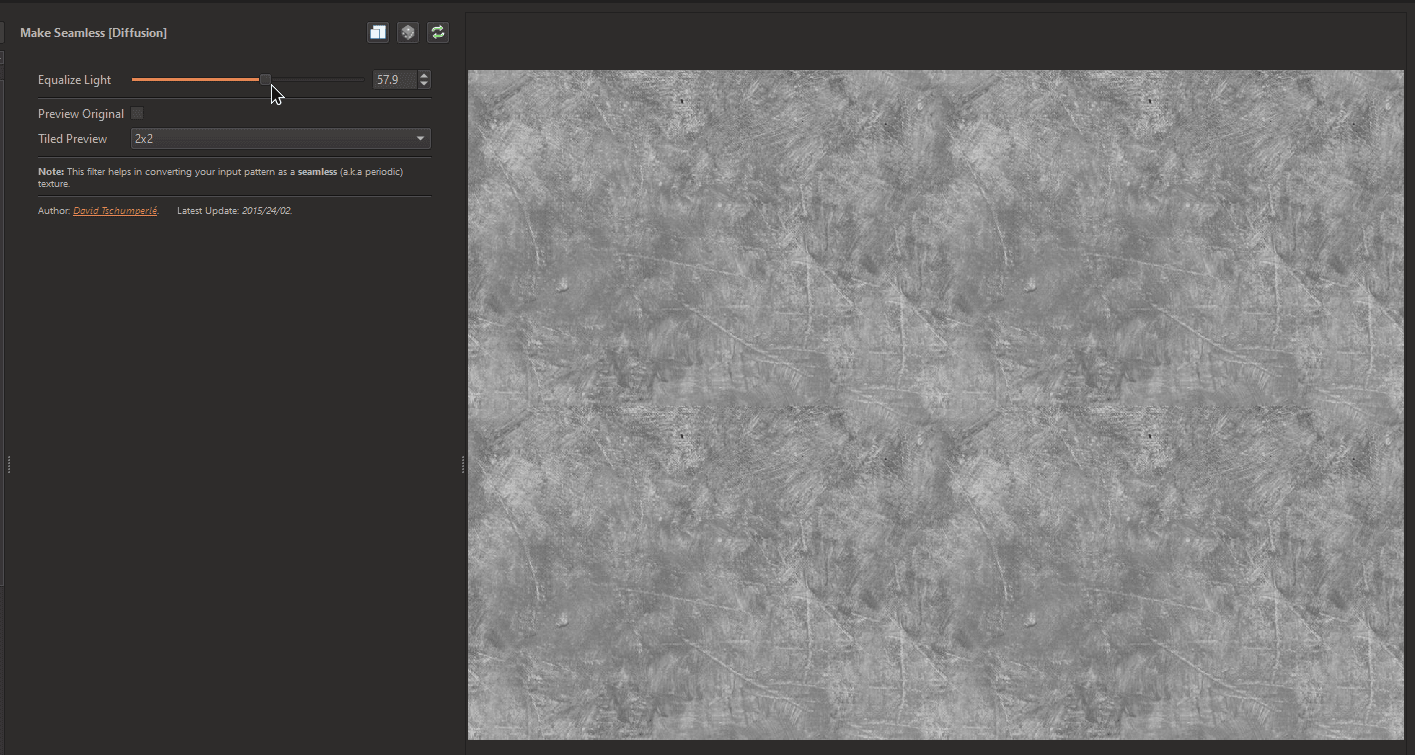
10. Adjust the ‘Equalize Light’ slider until you reach the sweet spot where the transition feels natural but not too far where you begin to lose details. Once you’re happy, click Ok.
11. Make any final touches using the Clone Tool, remove any parts which stick out too much and might draw attention to the tiled nature of this image, the eye is very sensitive to patterns and any high contrast repeating elements will highlight the artificial nature of your image.
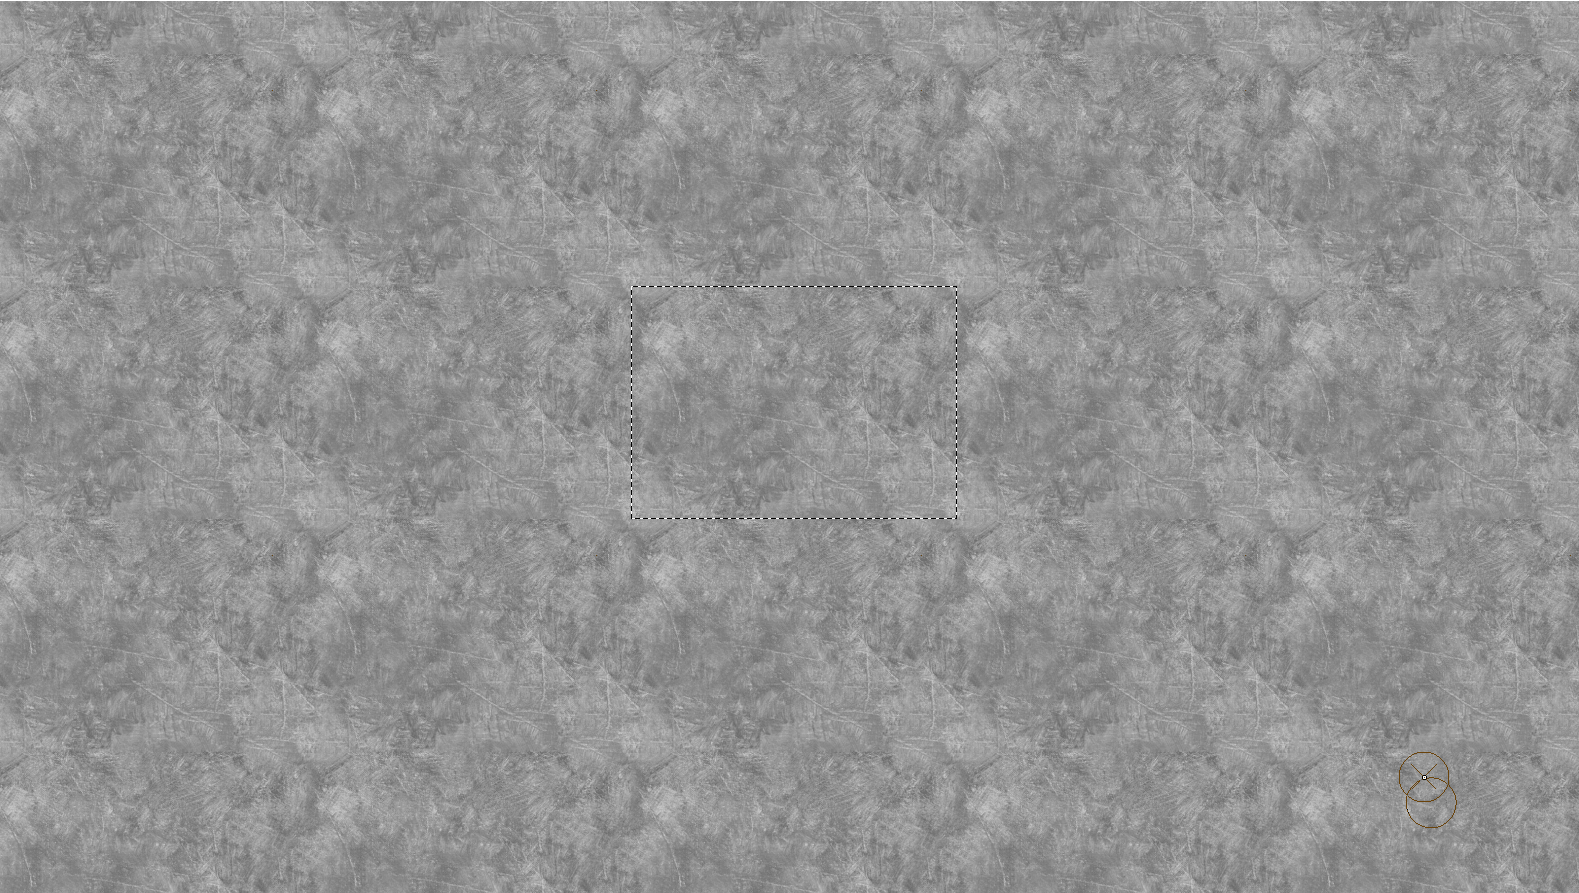
12. Zoom out and admire your work! Zoomed out, the tiling is somewhat noticeable, that’s mostly because I didn’t sample a large enough section to work with, but the scale the viewer will see this texture at is much more zoomed in so it’s not a big deal.
When satisfied, click File > Export and export your texture as an image file.
Usage for Brush Creation:
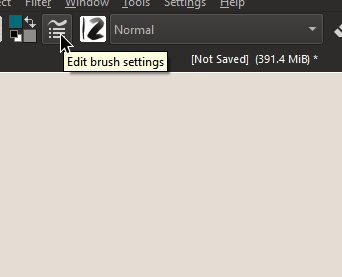
1. Using your newly created texture in a custom brush is simple! First select a textureless brush (or create a new one) and click ‘Edit brush settings’
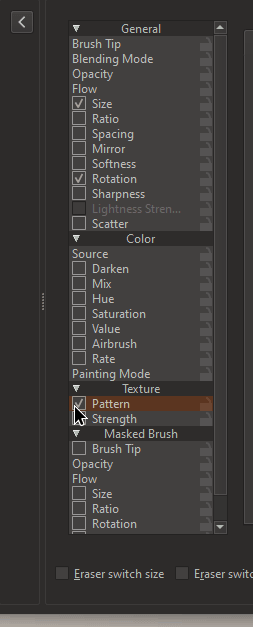

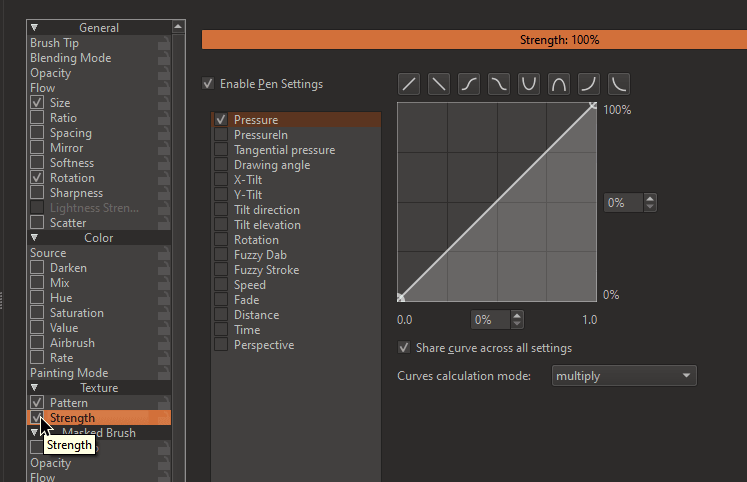
2. Then navigate down to ‘Texture’ and click the checkmark on ‘Pattern’. (And for more dynamic effects, check ‘Strength’ as well.)
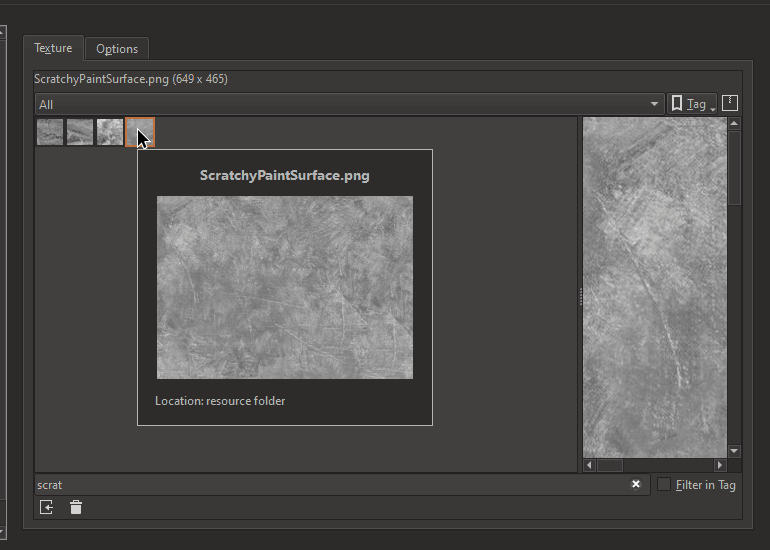
3. Then, click on the ‘Texture’ tab on the right, and click ‘Import resource’. Select the texture you just created.

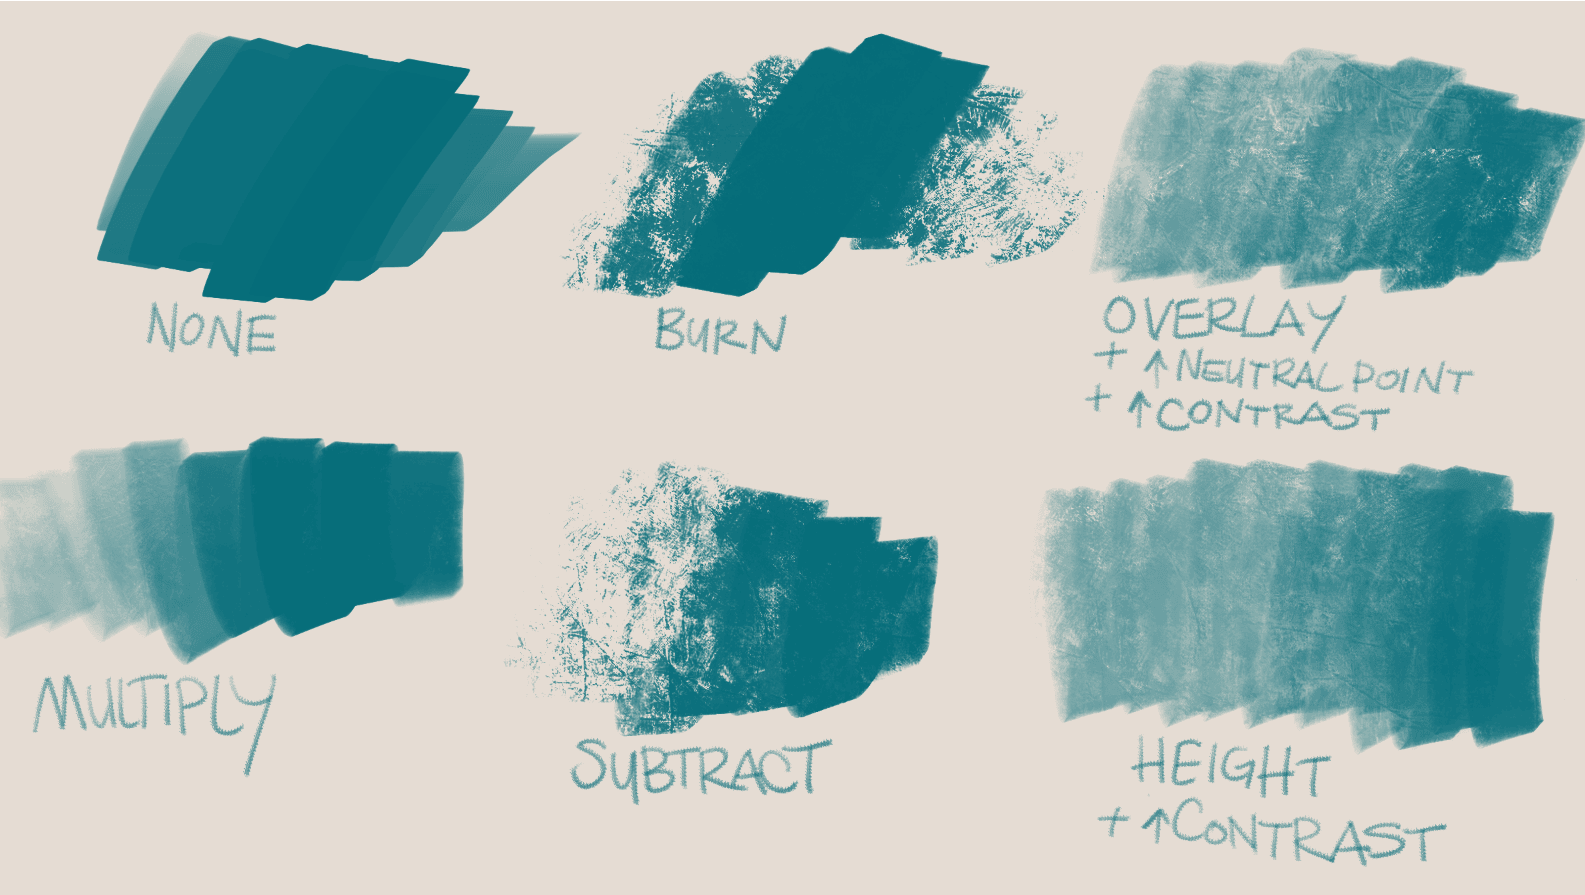
4. Make marks on your canvas and experiment with the different Texturing Modes. If your texture is relatively low contrast like mine is, you might want to use the ‘Contrast’ slider to increase the texture’s influence on the brush. If your texture is biased further towards white or black rather than a neutral gray, try adjusting the ‘Neutral Point’.
5. Have fun! Krita’s brush engine is incredibly powerful and you can achieve some very unique effects with a bit of creativity.